Style Arc, Cropped Stevie Jean Jacket
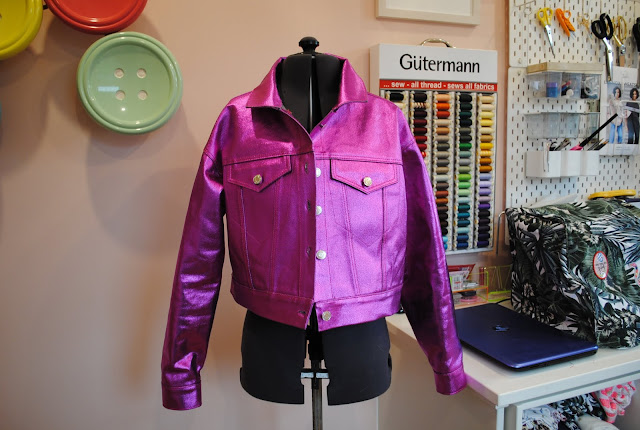
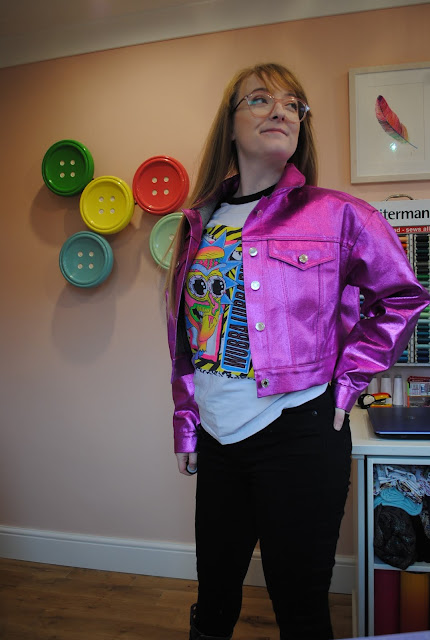
My original plan after making The Raincoat was to do a simple make but apparently, my creativity had other plans! I saw New CraftHouse were launching some new fabrics, so I always like to see what they’ve got and when I saw this magenta foiled denim, I had to get it! It’s so unique and special I couldn’t let it go. Then I just had to figure out what to make with it so I started brainstorming what garments do we typically make with denim? Jeans, skirts, and jackets! This fabric is quite a heavyweight with no stretch, so I knew it had to be a jacket and I already had the Steve Jean Jacket pattern which I’d made up in corduroy previously.
Now I thought, with a funky fabric such as this it’s
important that the shape is equally as cool so to update it a bit I decided to
make it a cropped length. To do this I put on my corduroy version and decided
where I wanted the jacket to finish then measured and remove this section from
the pattern. An issue I didn’t initially anticipate was that because the jacket
tapers down to the hip by cropping it I needed to make the waistband longer –
by 9cm! I’m sure I’ll use my previous waistband I cut out for a skirt or
something.
As with all Style Arc patterns, the instructions are very sparse, I’d certainly say this pattern is for an intermediate sewer. There are some things to note if you’re going to use this pattern: The pattern pieces themselves are not numbered so it’s worth going through and doing that yourself from the diagram. You need to watch out for the seam allowances because it says 1cm ‘external’ and 6mm ‘internal’ whatever that means! They are marked on the pattern pieces so just check before you stitch each seam. To be honest, if I were to make this again, then I would make all seam allowances 1.5cm which would then also allow for a traditional flat fell seams whereas with these scant seam allowances I could not do that so opted for an overlocked finish instead.
The trickiest part of this pattern I found was attaching the collar (I omitted the welt pocket from this version otherwise I’d probably say that!). The instructions are not very clear here but essentially when sewing the top of the button placket you should not go all the way across but just to the notch so there’s a step at the top to attach the collar to. This fabric is very thick and at this join, I wound up with something like 8 layers in the corner which was a struggle to topstitch. I redid it a few times so it’s the best I can make it but it’s not as neat as I would like it to be.
There is another mistake in the pattern where it tells you
to stitch the underarm seam and then topstitch it but at this point the sleeve
is sewn together so it’s not possible to topstitch this seam and I don’t think
it’s necessary either.
In general, the topstitching was not a walk in the park!
This was due to the thickness of my fabric so I would recommend you think
carefully about your fabric choice and what your machine is capable of if
you’re going to make this jacket. You will definitely need a denim/topstitching needle to cope with the bulky seams and do a tester first to check
the tension. If using topstitching thread, you will need to increase the
tension as the imbalance between the thicker top thread and the thinner bobbin
thread creates big loops on the wrong side.
I pressed all the seams with a clapper to get a crisp finish
and I also used a scrap piece of fabric as a pressing cloth to stop my iron
from getting covered in glitter! The foil coating can rub off if you’re too
rough with it so some of my corners look a little grubby but I think that adds
to the look of it.
Phew! This is a long review, but it was a big project! As
you may not know when I’m not sewing, I’m playing video games, most recently
Cyberpunk 2077 and this jacket makes me feel like I’m one of the characters.
Just need a blue mohawk now 😉


Comments
Post a Comment