My Latest Make - Vintage Maudella Maxi Dress
 |
| Pintucks sewn |
 |
| Front completed |
 |
| Trim attached to bottom of dress |
I didn’t have enough fabric to cut 5 frill pieces, yes 5! But I knew that the dress was going to come up too long on me anyway because most dresses do! So I cut 2 frill pieces and cut them in half so I had 4 which was enough to gather into the trim I added at the bottom. The trim is from MacCulloch & Wallis which I had stowed away last year. Really glad I added this in as it breaks up the pattern and allows a breeze through which is definitely needed at the moment!
 |
| Sleeves assembled |
Surprisingly the instructions were really clear which I don’t often expect from vintage patterns. Usually I find they tend to assume a certain level of sewing prowess and don’t provide full instructions, saying things like ‘make bound buttonholes’ with no instructions but this pattern was very thorough. All the notches are numbered so you know which ones match with each other which is really handy when the pattern pieces are symmetrical. It doesn’t instruct you when to finish the seams though so you have to remember to do that yourself, I used my overlocker after each seam.
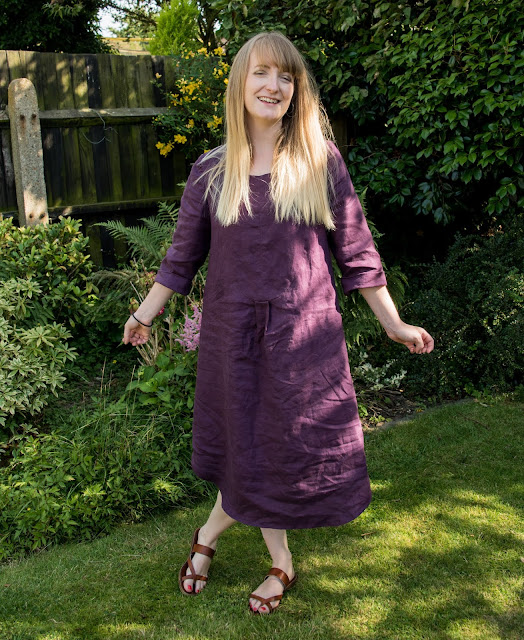
Overall I am very happy with the end result, if I were to make it again then I would lengthen the sleeves so they would be more billowy and widen the shoulders slightly because the shoulder seam finishes before the apex of my shoulder which causes it to tug a bit.
I expect I’ll be wearing this all summer long, now all I need is some cows to milk!


Comments
Post a Comment