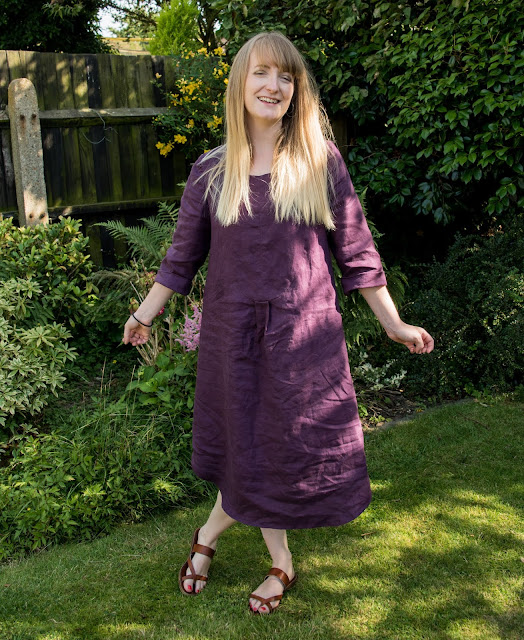
Wow! It has been almost a year since my last post, so long in fact that my hair is much longer now!
I have definitely still been making (a lot!) especially with being at home 24/7! Although I feel now, with us all being kept away from each other it would be a good time to come back to the blog and share my creations with the wonderful sewing community.
For my return to the blog I wanted to make something showstopping, a project I could take my time over and put a lot of thought into. I had seen a ph
oto of this Orla Kiely dress online and, as many of us sewists often do, I thought - ‘I can make that!’. It’s pretty similar to the Tilly and the Buttons Martha Dress, which I have already made before – see here.
 |
| Orla Kiely Dress I saw online |
I just needed to hack the sleeves so they would be straight rather than flared and add a flounce to the bottom. I had already created a hack to add a frill to the princess seam and I bought some velvet ribbon to topstitch down next to it.
 |
| Ironing 'That Zara Dress' Fabric |
 |
The fabric was really slippy so to get accurate pattern pieces I used my handmade pattern weights, a cutting mat, and rotary cutter
|
To create a flounce I had to go back to my GCSE maths. First I had to measure the circumference of the sleeve (including seam allowance) and draw a circle with that same circumference. Then decide how long I wanted the flounce to be – I decided on 7cm plus the seam allowance. Then draw another circle at this distance from the original so you have a donut shape and it’s done!
 |
| Ruffle inserted, laying out the ribbon |
 |
| Bodice done! |
The only other change I made to the pattern was to move the bust seam 2cm outwards, as from my previous make I knew it wasn’t sitting in quite the right place.
The Fabric is from
Sister Mintaka (sold out now), which I bought a while ago when
‘That Zara Dress’ was all the rage and I wanted to create my own version. It’s slightly transparent so I also bought a lining fabric from
Minerva Crafts to go with it which would also help it to flow nicely and not stick to my legs!
The pattern does not include instructions for how to add a lining, but it was straight forward. You essentially make the exact same dress in the lining fabric (omitting the frill in the bust seam) then join them together at the sleeves, neck, and zip. I didn’t line the sleeves as it’s not necessary and I prefer them to be more free-flowing. The zip was the only bit I wasn’t sure about so I did a quick YouTube search on that one.
 |
| Ironing all the skirt panel seams |
 |
| Letting her hang out |
An important thing to remember about bias-cut skirts is, they will stretch out unevenly at the hem. So before you hem you must let the garment hang overnight so you can then correct it. I figured out how to use the chalk marker on my mannequin for this so I was certain I got a straight line, then chopped off the bottom and hemmed it.
 |
| Marking out the hem |
 |
| Final touch |
I am super pleased with how it turned out! It has a nod to current trends: polka dots, frill, flounce, and it’s inspired by one of my favourite designers – Orla Kiely. I imagine I will be able to wear this all year round either with tights and boots, as I have in these photos, or with sandals when the weather is warm.
Already excited for my next make! It’s a vintage 1970s maxi dress with pintucks and a frill hem – wish me luck!


Thanks for sharing such beautiful information with us. We hope you will share some more information about it. We really enjoy your blog & content. If you want to get some information about Japanese men's fashion, you can visit our online store Kidoriman review. Here you will get information about every new fashion going on in Japan.
ReplyDeletewell I read this article and t is a set elastic band supplier of equipment that creates a records management platform that allows monitoring, consolidating and evaluation. this machine is conformed with the aid of elasticsearch, logstash and kibana. this set can be diagnosed as “elk stack” or just “elk”
ReplyDelete